- Joined
- Jul 11, 2012
- Messages
- 17,727
Atomisers, clearomisers, cartomisers, rebuildable tanks and drippers
Once youʼve sorted out the power end of your vaping equipment, you then need something to hold the eliquid and heat it up to make the lovely vapour! All of these come under the class “atomiser”. Once again, there are many options and it is a case of trial and error to find what suits you. The battery in your device gives power to a coil which heats up and turns the eliquid into vapour. There are several classes of atomiser which can all do this, so here is a rough guide to the most common ones.
1) Cartomiser This is the most basic form of atomiser and is low maintenance and easy to use. It consists of single or dual coils and a filler to hold the juice. You just fill it up and vape until it needs topping up. You cannot change the coil can only be used a number of times before it has to be thrown out. Some cartomisers (cartos) have holes punched into the side so they can be used in larger tanks with larger capacity. These used to be the vaping standard but are now not that commonly used as technology has moved on. An example of a carto is the Boge cartomiser.
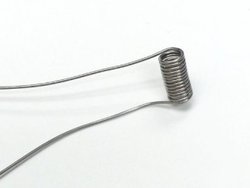
2) Clearomiser Next step up is the clearomiser (clearo). These tend to be see through (hence the name- genius!) and have a larger capacity that the carto. They usually have silica wicks to suck the juice up and deliver it to the coil. Again, they are easy to use as you just fill it up, wait a few minutes to let the juice soak into the wicks and off you go. Some are a whole unit so are disposable, but there are also ones with replaceable heads so when the coil is past its best you just stick a new coil in and you are good to go. If you are feeling really brave you can even rebuild the coil yourself too! The Kanger protank is a good example of a clearo
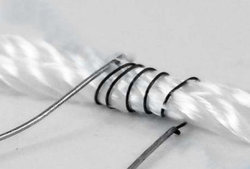
3) Rebuildable Tanks Next in our quest for the perfect vape comes the rebuildable tank atomiser (RTA). Now we are back in advanced user gear terratory and as ever please vape safe and learn what your device can handle before you do anything silly! An RTA is a larger capacity chamber and a base to build your own coil and wick. There are two main types, silica and genesis. The silica uses a length of rope like wick (silica, cotton, voodoo wool are all suitable wicking materials) with a coil wrapped round, and the genesis (gennie) has a wick made of rolled sheet stainless steel that has been oxidised and posted through the coil- I did warnyou it gets more complicated!). These produce great flavour and great clouds and, because you build it yourself, can be fully customized to suit your style. They are more suited to use with mods. The Kayfun is a great example of a silica RBA and the Cobra is a well regarded genesis atomiser
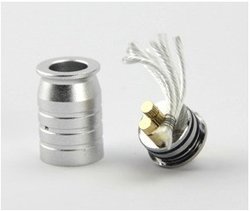
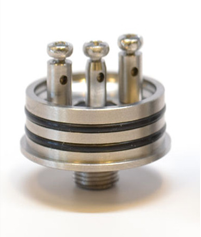
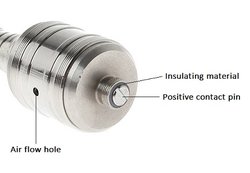
4) Dripper Finally we get to the dripper. These have no tank or juice holding area other than in the base so you have to keep them topped up with juice by erm dripping. Again there are two types-the disposable dripper which is similar to a carto but with no filler or wadding and the rebuildable dripper (RDA) which is similar to the the rebuildable tank atomiser but with no tank. The RDA is probably the most customizable of all the atomisers as many can be set up to have single, dual or quad coils. Wick material commonly is silica or cotton but stainless steel can be used. The use of RDAs has spawned a whole new subspecies of vaper-the cloud chaser! These crazy dudes and dudettes build super low ohm coils, drill out the airholes in the atomiser and use vg heavy juice to make the most vapour possible. It is an impressive sight but must not be attempted if you donʼt have an understanding of battery safety and ohms law. The 306 is a dripping atomiser and the atomic is an example of a rebuiladable dripping atomiser.


