TeesMaarKhan
Initiate
- Joined
- Nov 19, 2013
- Messages
- 47
Hi Guys
Its a sunday and i been doing this for some time now and decided to share with you guys on how to rebuild a electron-M clearomizer apparently their unfindable as its a new form of clearo aka c2 i believe and only is used in electron-m and electron-s in this tutorial you can not only rebuild but also fix the gurgling issue allot of people are having. A new c2 clero is £5 and they come in batch of 2's and more feck that....
To fix just the gurgling please go to end of 2nd post thx
Mod please move this to the appropriate section thanks
Things needed
pre made 1.8 or 1.5 ohm wires i prefer those less watts and voltage needed to get good vape compared to 2.4ohm
Pre Made Resistance - No Resistance Wires x 50
Ekowool or voodowool or normal cotton is fine too 2 or 2.5mm should be sufficient
Ekowool
tweesers decent strong ones#
wire cutters
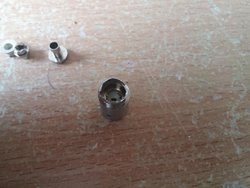
Okay first things first, im sure you know how to get to this stage just unscrew base of clearomizer and twist it off
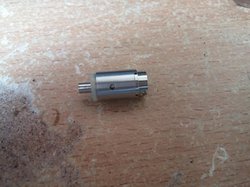
Then take top rubber seal off with tweezers easy peasy
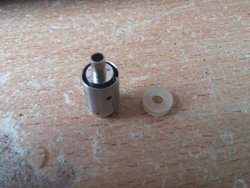
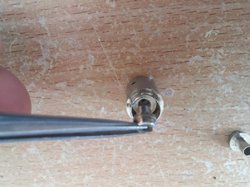
Then grab top little tube with tweezers and jiggle it left and right and it should easily slip off
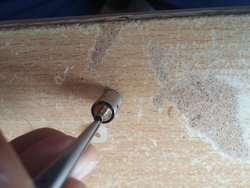
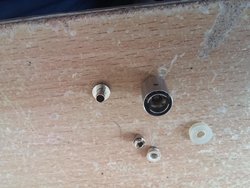
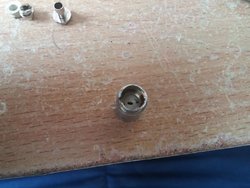
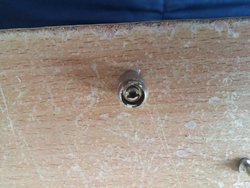
Okay turn it upside down now and gently grab little metal tube in the inside with tweezers and pull it out again easily done
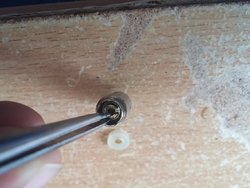
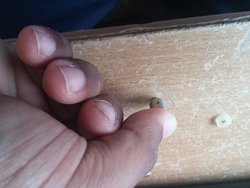
Next there will be a little cream rubber seal inside from where above tube came out there will be 1 wire on top og it just put it to the centre and lift cream seal out, then there will be a second wire visible sat on the side base bring that into the center too
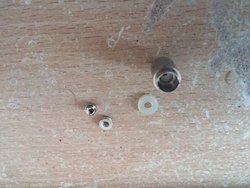
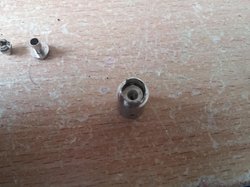
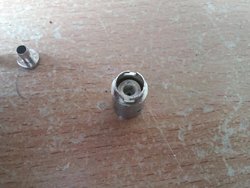
Now turn it around and gently insert one peg of the tweezers on one side and push to right or left accordingly and inner tube should become loose
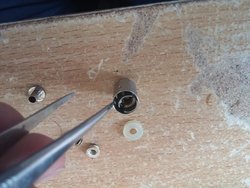
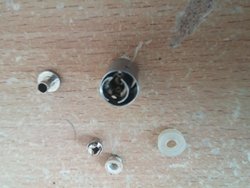
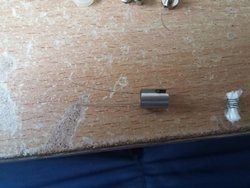
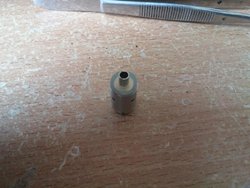
Once loose just grab it with tweezers and pull it out gently and it should look like this
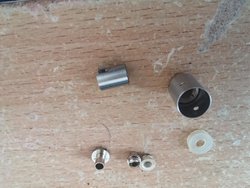
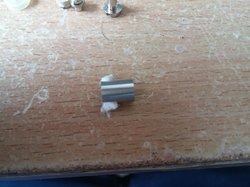
on the bottom of this tube you will see those 2 wires straighten them out with tweezers and gently push them through bit by bit and you will see the coil coming out the other end its very important you get them as straight as possible as these holes are quite tight
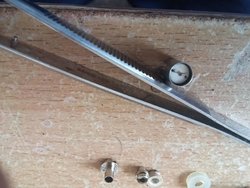
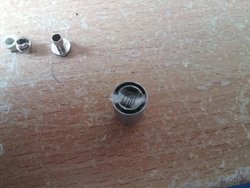
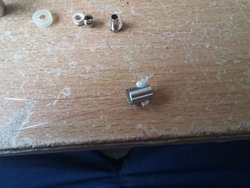
Now once its taken out throw it away or straighten it up and clean it for re use, Now the whole thing should end up looking around this stage all your parts and your wire to be recoiled
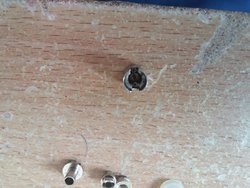
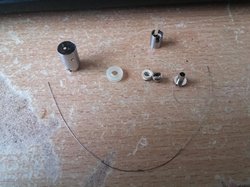
Wrap that bad boy up as you can see my shit job i did as i wrap on the voodoo wool itself can get messy but hey
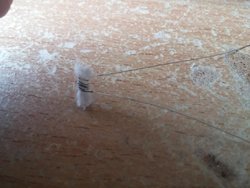
Now what you want to do is reverse the whole thing as above so from where the coil came out from insert the 2 ends in and gently lower it down to the base, Once you have wick seated properly and in genter pull the 2 long wires at bottom gently to get it in there properly
Its a sunday and i been doing this for some time now and decided to share with you guys on how to rebuild a electron-M clearomizer apparently their unfindable as its a new form of clearo aka c2 i believe and only is used in electron-m and electron-s in this tutorial you can not only rebuild but also fix the gurgling issue allot of people are having. A new c2 clero is £5 and they come in batch of 2's and more feck that....
To fix just the gurgling please go to end of 2nd post thx
Mod please move this to the appropriate section thanks
Things needed
pre made 1.8 or 1.5 ohm wires i prefer those less watts and voltage needed to get good vape compared to 2.4ohm
Pre Made Resistance - No Resistance Wires x 50
Ekowool or voodowool or normal cotton is fine too 2 or 2.5mm should be sufficient
Ekowool
tweesers decent strong ones#
wire cutters
Okay first things first, im sure you know how to get to this stage just unscrew base of clearomizer and twist it off

Then take top rubber seal off with tweezers easy peasy

Then grab top little tube with tweezers and jiggle it left and right and it should easily slip off

Okay turn it upside down now and gently grab little metal tube in the inside with tweezers and pull it out again easily done

Next there will be a little cream rubber seal inside from where above tube came out there will be 1 wire on top og it just put it to the centre and lift cream seal out, then there will be a second wire visible sat on the side base bring that into the center too

Now turn it around and gently insert one peg of the tweezers on one side and push to right or left accordingly and inner tube should become loose


Once loose just grab it with tweezers and pull it out gently and it should look like this

on the bottom of this tube you will see those 2 wires straighten them out with tweezers and gently push them through bit by bit and you will see the coil coming out the other end its very important you get them as straight as possible as these holes are quite tight

Now once its taken out throw it away or straighten it up and clean it for re use, Now the whole thing should end up looking around this stage all your parts and your wire to be recoiled


Wrap that bad boy up as you can see my shit job i did as i wrap on the voodoo wool itself can get messy but hey

Now what you want to do is reverse the whole thing as above so from where the coil came out from insert the 2 ends in and gently lower it down to the base, Once you have wick seated properly and in genter pull the 2 long wires at bottom gently to get it in there properly

Attachments
Last edited:


